
I am so happy and relieved to be done with our bathroom remodel. Our house feels like a home again, not a mini construction zone. Many nights I stubbed a toe walking down the dim hallway lined with tools. Silly, 'cause there was an easy fix to that problem. Hmm... Oh well, it is done, so glad.
Promising to give you a couple "how to's", I am sharing the process of our driftwood mirror, and also my very homemade shower curtain. If you are an avid D.-I.-Y.-er you may not need to read my tutorial, just glance at the pictures. I have included a couple other really neat ideas too!
 |
| .refurbished driftwood mirror. |
Here are the before photos of our basic mirror. We bought it last year at Gordman's for about $30-$40.


More prep time was taken in preparing the driftwood. I pressure washed the wood, and let it sit out in the sun for about 2 weeks. We broke down the larger pieces into smaller ones. My husband cut the backs off the pieces that were too thick. This gave us a flat surface to glue onto the frame. We have a light fixture above the mirror we had to consider, as it had to fit underneath. Hot-glue was my adhesive of choice. It was convenient to have it set, or bond immediately. Placing the pieces on the frame was harder than it looked. I compared it to putting together a jigsaw puzzle. It is a non-precise thing to do, and difficult for a perfectionist.

.....................................................................................................................................................................


After all the pieces were in place, I covered the glass, and sprayed the mirror with Polyurethane to seal the wood. The Poly really brought out the many different colors.
The mirror was my biggest decorating risk in our new bathroom. I am in love with it!
I have to show you this mirror from Better Homes and Gardens. It is stunning! There are so many possibilities.
 |
| .love the seashells. .love the Chocolate brown wall. |

 |
| .I purchased the white fabric {actually, a bedspread} from a garage sale for $1. Adding the Khaki fabric on top gave it the length I needed. |

- Pre-wash your fabric prior to stenciling.
- Mix Martha Stewart Fabric Medium with your choice of paint according to directions.
- Tape or use spray adhesive to secure the stencil.
- Wait 24 hours after stencil is complete, then iron opposite side to set. "Setting" your painted stencil will allow your fabric to be washed without fading.
- The stencil will not feel hard and crunchy, but soft as the fabric.
- Michaels carries Martha Stewart Crafts. http://www.michaels.com/

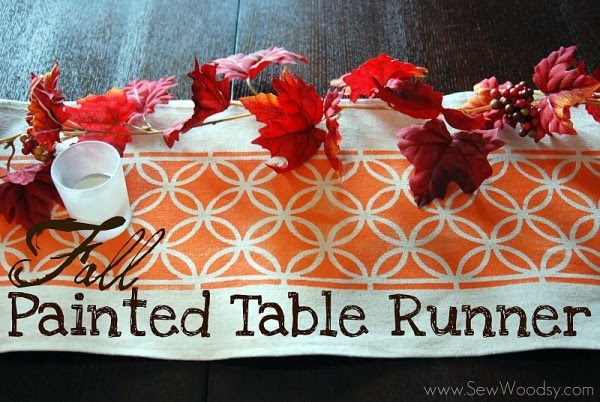
There are several different stencils that come in this package. The painted runner below is the same stencil as I chose for my shower curtain. The pillows were also painted using stencils included in this set. This package of stencils retails for around $16. I did use a 50% off coupon to purchase mine.

I encourage any questions to be left in the comment section below this post. Comments, suggestions, and feedback are greatly appreciated, and so fun to get too! Thanks for taking the time.
Nicest bathroom I have seen. It is down-to-earth, something I may (with help) be able to do in my own home. You write to the "average" guy or gal, and I appreciate that. Keep the posts coming please!
ReplyDelete